Valentine’s Day is a special holiday for lovers, friends, family and anyone else who wants to celebrate love. While many people opt for store-bought cards or gifts, there’s something special about homemade crafts made with wood. Whether you’re a beginner or a seasoned carpenter, here are some tips and ideas to get you started.
Gather Your Supplies
The first step in any project is to gather the supplies you need. For wood crafts, you’ll need at least some basic tools, such as a saw, drill and sandpaper. Depending on the project, you may also need a router, jigsaw, hammer, nails and screws. In addition, you’ll need wood glue, a variety of paints and stains, and special finishes like lacquer and varnish.
When it comes to the wood itself, there are many options to choose from. Soft woods like pine and fir are great for beginners, as they’re easy to work with. Harder woods like oak and walnut are more durable and can be shaped in a variety of ways. These woods are often used for more intricate projects.
Choose a Project
Once you’ve gathered your supplies, it’s time to choose a project. If you’re a beginner, start with something simple like a wooden frame or a small box. Once you’ve mastered the basics, you can move on to more complex projects like a jewelry box or a wine rack. There are also plenty of Valentine’s Day-specific projects, such as heart-shaped boxes, photo frames and plaques.
Plan the Design
Once you’ve chosen a project, it’s time to plan the design. Start by sketching out your idea on paper. This will help you visualize the project and make sure everything is to scale. You can also use software like SketchUp to create a 3D model of your design. This will help you identify any potential problems before you start cutting.
Cut and Assemble the Wood
Once you’ve planned the design, it’s time to cut and assemble the wood. Be sure to measure and mark the wood accurately, and use the proper saw for the job. If necessary, use a jigsaw to make curved cuts, and a router to create grooves and other details. Once you’ve cut the wood, you can use wood glue to assemble the pieces.
Sand and Finish the Wood
Once the wood is cut and assembled, you can begin sanding and finishing it. Start with a coarse sandpaper and gradually work your way up to a finer grit. This will help smooth out any rough edges and make the wood look its best. Once the sanding is complete, you can apply a stain or paint to the wood. Depending on the project, you may also need to finish it with a sealant or varnish.
Add the Final Touches
The last step is to add the final touches to your project. If you’re making a box or frame, you can add hinges, handles and other details. You can also use stencils or stamps to add words or images to the wood. Finally, you can use felt or other materials to line the box or frame.
Woodworking is a great way to show your love this Valentine’s Day. With a little bit of patience and creativity, you can create something special that will be treasured for years to come. So get out your tools, gather your supplies and get started on your next woodworking project.
Images Related to Valentines Day Wood Crafts:
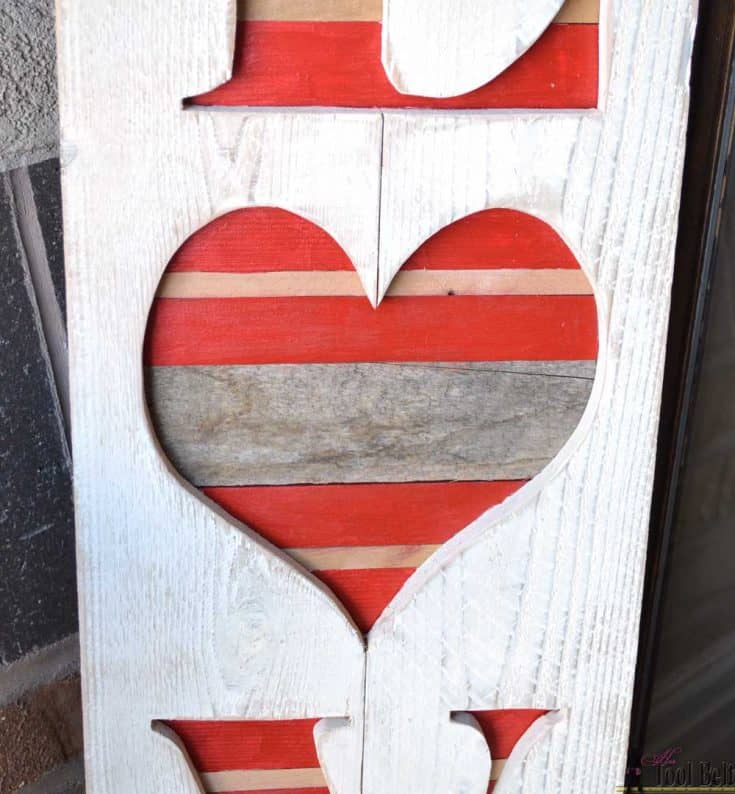
Rustic Love - DIY Craft for Valentine's or as a Present to a Couple
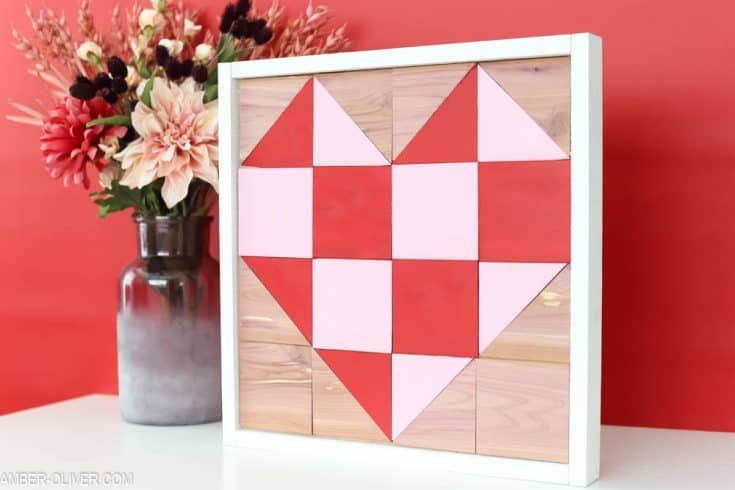
Easy Wood Crafts for Valentine's Day

75 Easy and Cute Valentine's Day Crafts for Adults to Make 2023
